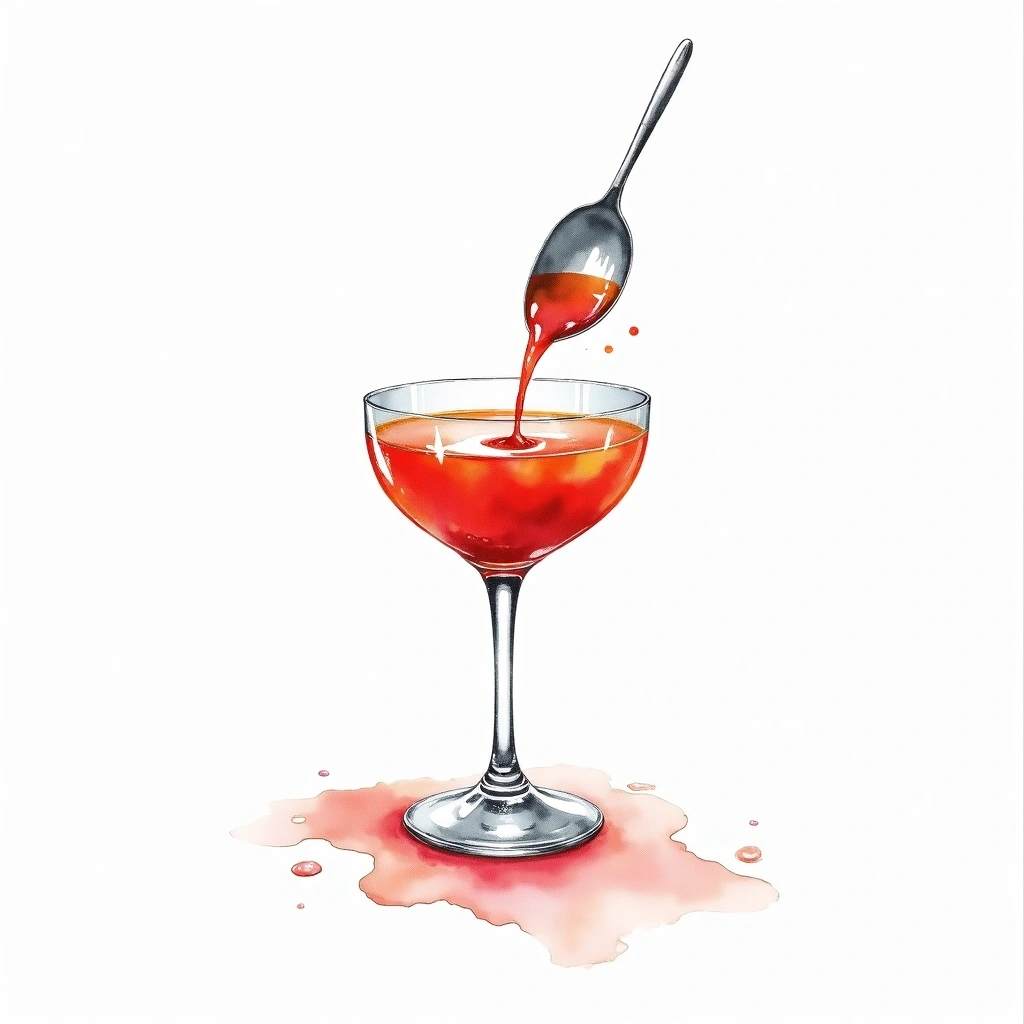
Floating
IntermediateGently pouring a spirit on top of a finished drink so it sits on the surface.
필요한 도구
방법
1. Build the cocktail and fill the glass with any garnishes and ice. 2. Measure the spirit to be floated — typically 1/2 oz of a heavier or lighter liquid depending on the desired effect. 3. Hold the back of a bar spoon just above the surface of the drink, with the bowl facing upward. 4. Pour the spirit slowly over the spoon so it flows gently and spreads evenly across the top without breaking through. 5. Do not stir — the float should remain separate until the guest chooses to mix. Tip: Higher-proof spirits are lighter and float more easily on top of sweeter, denser mixers. Common mistake: pouring directly onto the drink surface without a spoon, which causes the spirit to sink and mix immediately.
전문가 팁
Pour 0.25-0.5 oz of the floating spirit slowly over the back of a bar spoon held just above the drink's surface, letting the liquid spread gently rather than plunging through. The floating spirit should be lower in density than the liquid below — high-proof spirits and cream liqueurs float well on denser, sugar-heavy bases. Touch the tip of the spoon to the inside wall of the glass at the surface level for maximum control and a clean, undisturbed layer. This technique is essential for drinks like the New York Sour (red wine float) and the Dark 'n' Stormy (dark rum float).
흔한 실수
Pouring the float too quickly breaks through the drink surface, mixing the layers and destroying the visual contrast. Not using the back of a bar spoon to break the pour creates a concentrated stream that pierces through the base cocktail, sinking the spirit to the bottom. Attempting to float a spirit with similar density to the drink below makes separation physically impossible, as the two liquids blend into one layer regardless of technique.