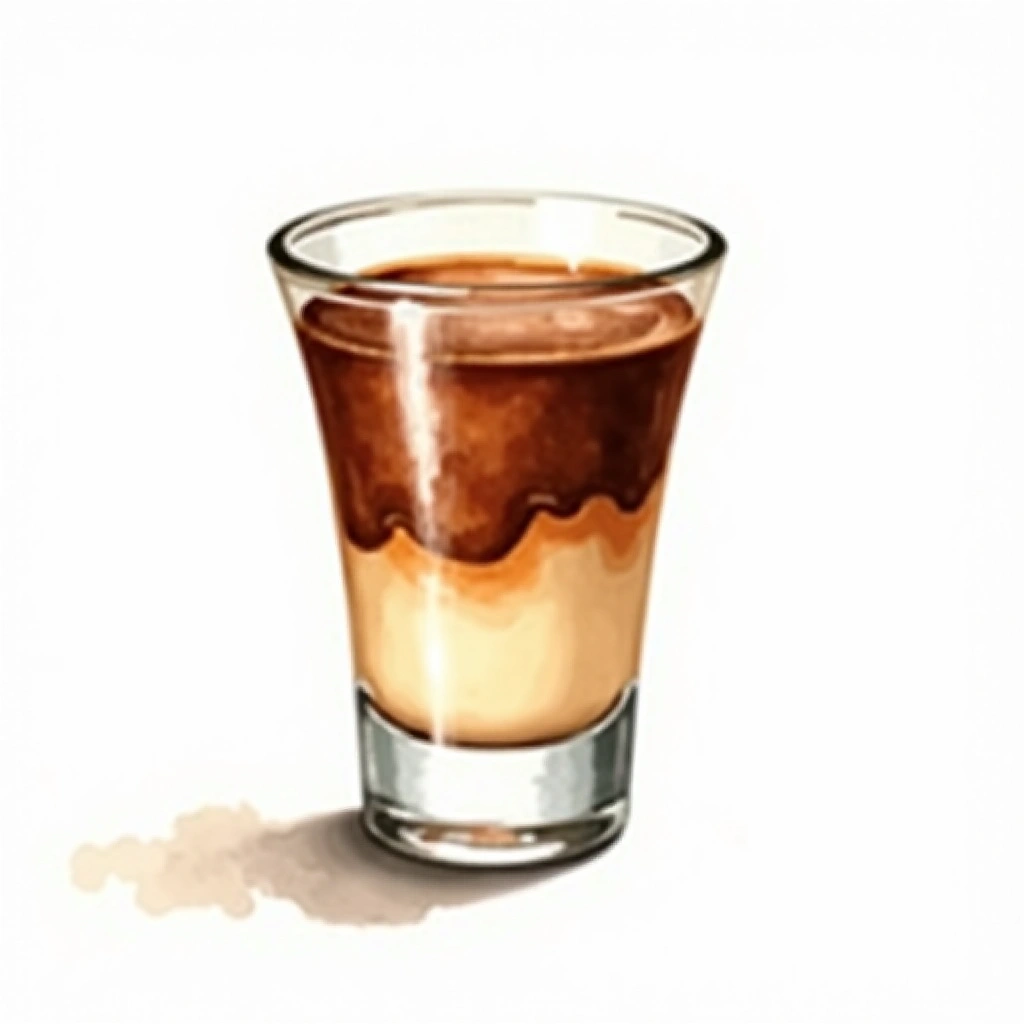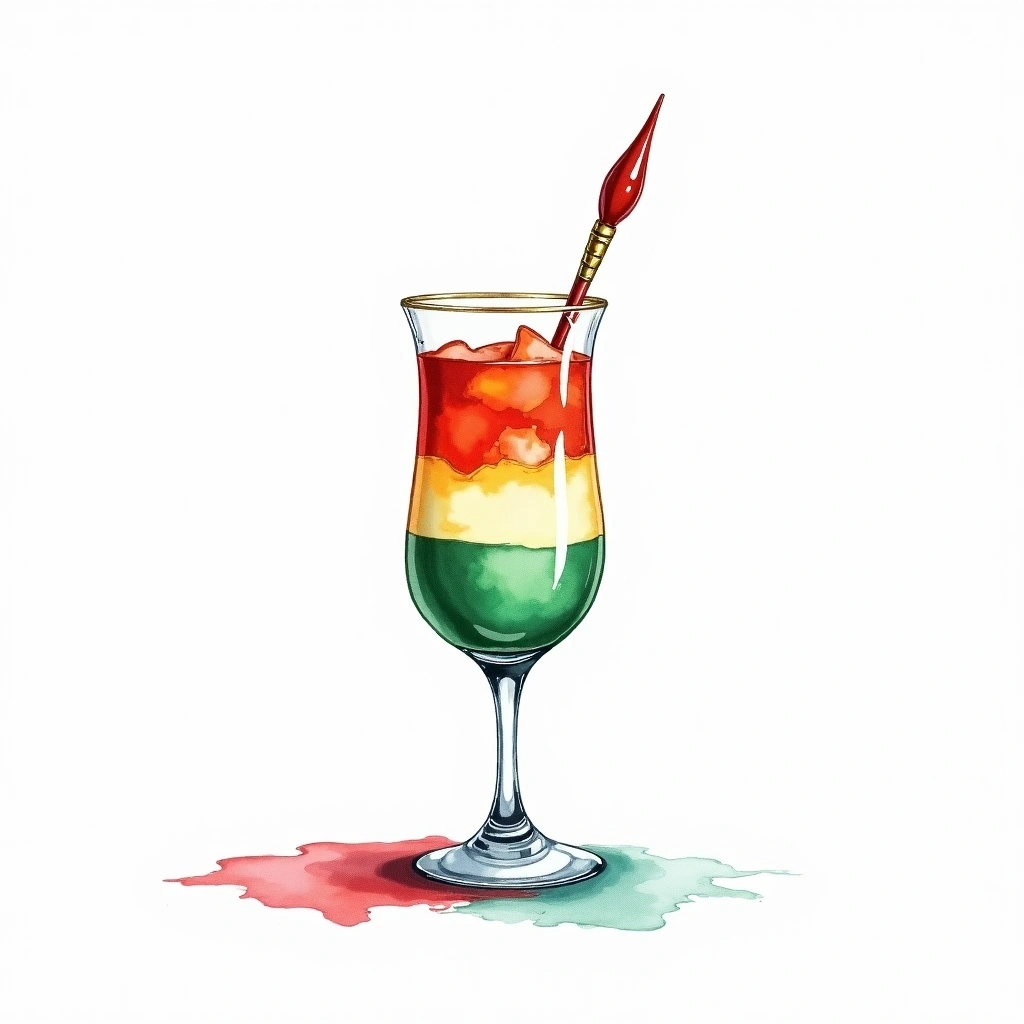
Layering
AdvancedCarefully pouring ingredients over a bar spoon to create distinct density layers in a glass.
Alat yang Diperlukan
Cara
1. Research the specific gravity of each ingredient — denser liquids (higher sugar content) sink, lighter liquids float. 2. Pour the heaviest ingredient into the glass first. 3. Place the back of a bar spoon just above the surface of the liquid in the glass. 4. Pour the next layer slowly over the back of the spoon so it flows gently onto the surface without mixing. 5. Repeat for each additional layer, working from heaviest to lightest. Tip: Pour at the slowest possible rate and keep the spoon touching the inside wall of the glass to disperse the flow. Common mistake: pouring too quickly or holding the spoon in midair, which breaks the layers.
Tips Pro
Pour each layer slowly over the back of a bar spoon held just above the previous layer, letting the liquid slide gently down the spoon's curved surface. Know your specific gravity order — heavier syrups and liqueurs (like grenadine at 1.18) sink to the bottom, while lower-proof spirits float on top. Chill all ingredients beforehand to increase density differences and create sharper, more defined layers. Practice with just two layers before attempting complex multi-layer pousse-cafes, and pour each layer no more than 0.5 oz at a time for maximum control.
Kesalahan Umum
Pouring too fast over the bar spoon breaks through the layer below, causing the liquids to blend and destroying the distinct color separation. Getting the density order wrong by pouring a heavier ingredient on top causes it to sink straight through, mixing the entire drink into a murky blend. Using room-temperature ingredients makes the liquids less viscous and prone to mixing on contact, as warm liquids flow faster and disrupt settled layers.